What People Get Wrong About Repainting Cabinets
The Prep Work That Makes Painted Cabinets Last
Cabinet repainting looks deceptively simple. Open a can, grab a brush, and transform a dated kitchen into something brighter and more current. That perception fuels countless weekend projects and rushed contractor jobs that start with confidence and end with peeling corners, sticky doors, and visible brush marks. The disappointment often sets in within months. The issue is not that cabinets cannot be repainted successfully. The issue is that the preparation and materials must match the demands of the surface.
Cabinetry is handled constantly. Doors are pulled, drawers are pushed, edges are bumped, and cooking vapors cling to every exposed face. When people treat cabinets like drywall, they set the stage for early failure. Understanding why that happens requires a closer look at surface preparation, priming, and the chemistry of the topcoat.
Why Skipping Sanding Leads To Early Failure
One of the biggest misconceptions about cabinet repainting is that sanding is optional. Many homeowners assume that if the surface looks smooth and clean, paint will adhere without much effort. In reality, factory finishes are designed to resist wear, moisture, and staining. That resistance also makes them resistant to new coatings.
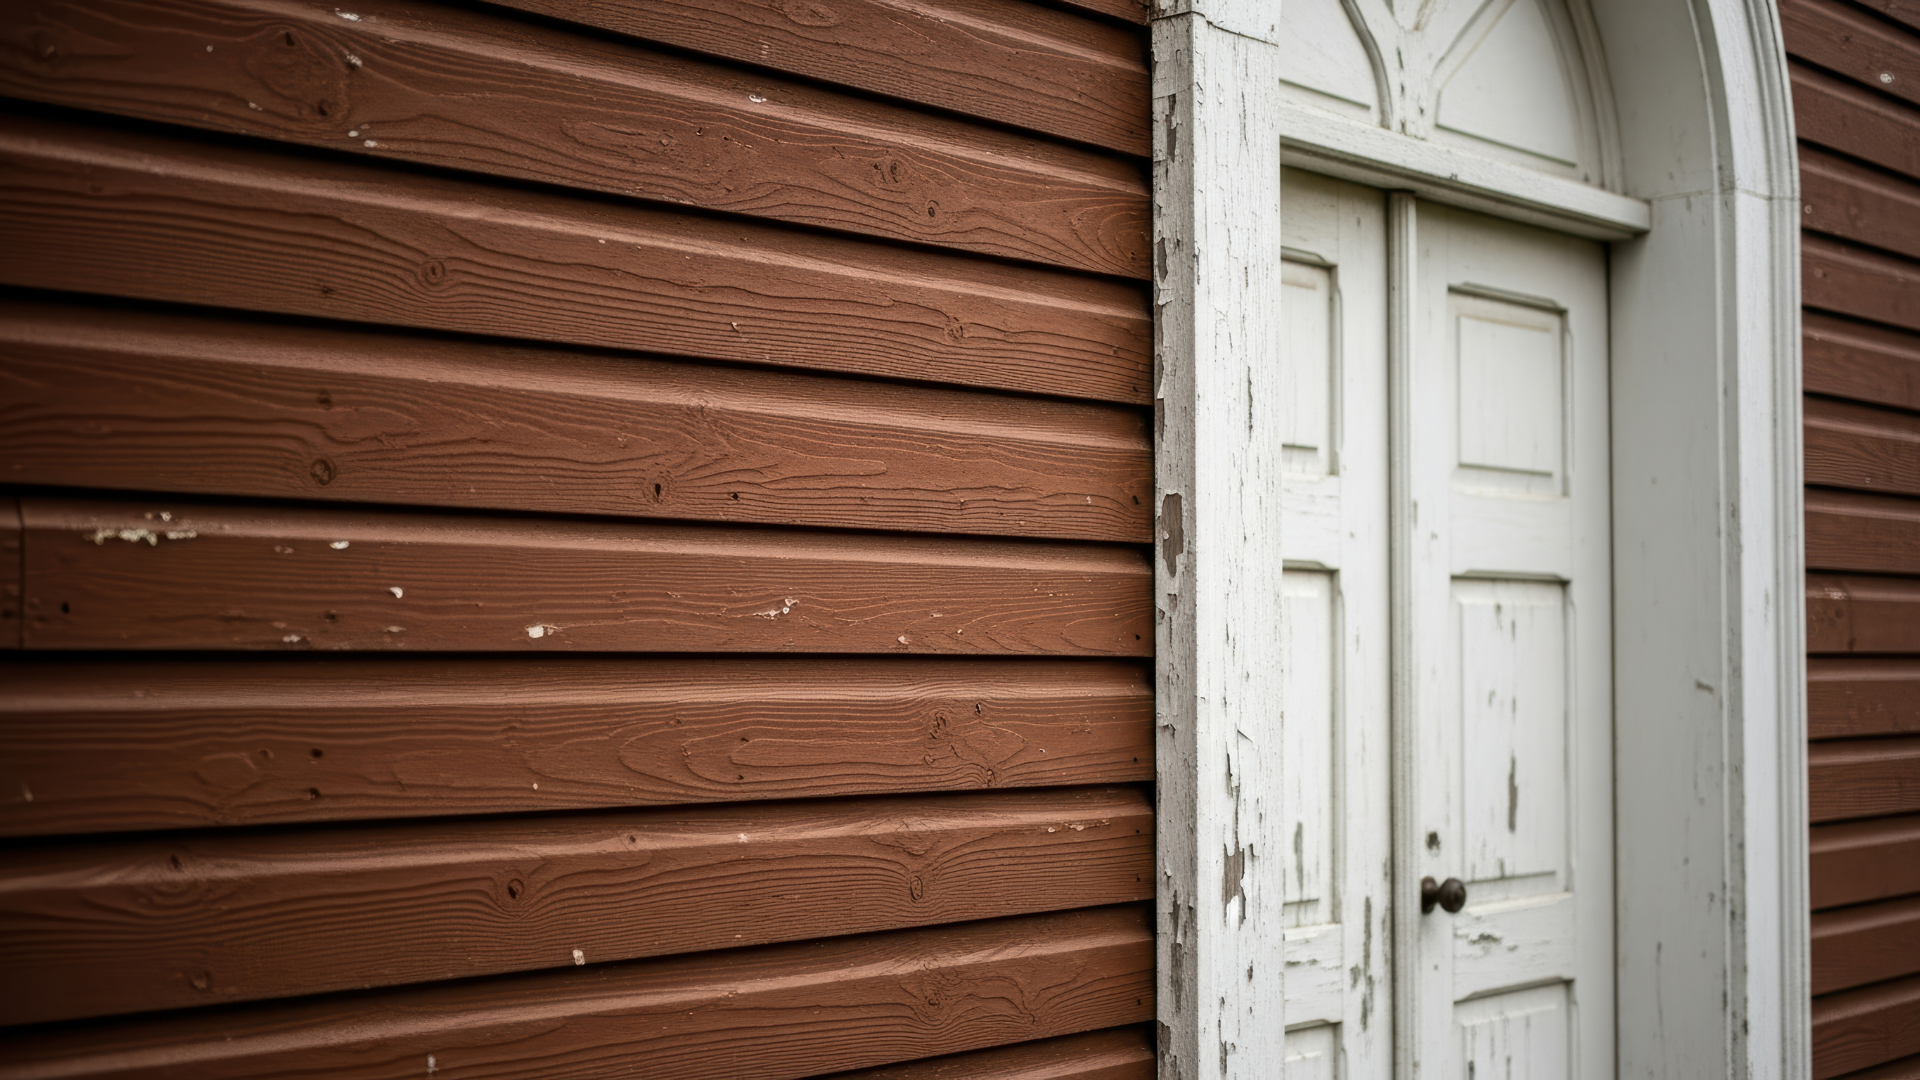
Most cabinets are sealed with a slick lacquer or polyurethane. These coatings create a hard, glossy barrier. When fresh paint is brushed directly on top, it struggles to grip. Adhesion depends on mechanical bonding. Sanding lightly abrades the surface, creating microscopic texture that gives primer and paint something to lock into. Without that texture, the new coating sits on top rather than bonding with the existing finish.
The result may look acceptable at first. However, daily use exposes the weakness. Fingernails scratch edges. Knobs loosen. Cleaning cloths drag across panels. When there is no proper tooth beneath the coating, paint begins to chip at corners and wear through along high-contact areas. Once a small section fails, moisture can work its way under the film and lift more material.
Another factor is contamination. Kitchen cabinetry accumulates grease and airborne residue. Even thorough cleaning can miss buildup embedded in the finish. Sanding removes a thin layer of the original coating along with lingering contaminants. Skipping that step leaves behind a surface that may interfere with bonding.
The Critical Role Of Primer
Primer is often treated as an optional upgrade. Some paints advertise built-in priming properties, which encourages the idea that a single product can do everything. On high-traffic cabinetry, that shortcut frequently leads to discoloration, adhesion issues, and uneven sheen.
Primer performs several important functions. First, it creates a uniform base that improves bonding between the prepared surface and the topcoat. Even after sanding, underlying finishes can vary in porosity. Primer evens out absorption so that the enamel cures consistently.
Primer also blocks stains and tannins that can bleed through light colored finishes. Wood species such as oak, maple, and cherry contain natural compounds that migrate into paint films. Without a proper barrier, yellowing or blotching can appear months after application. That kind of discoloration is frustrating because it suggests the job was rushed, even if the initial finish looked flawless.
Not every primer is suitable for cabinetry. High adhesion bonding primers are formulated to grip slick surfaces and cure into a dense layer that supports enamel. Water-based primers have improved dramatically, but some situations still benefit from specialized formulations depending on the substrate and existing finish. Selecting the right product requires evaluating the material, previous coatings, and environmental conditions.
When primer is omitted, the finish coat must compensate for adhesion, stain blocking, and leveling. That is a tall order for any single product. The paint may look good at first, but its performance under daily wear can fall short.
Why The Right Enamel Paint Makes The Difference
Even with proper sanding and priming, the final outcome depends heavily on the type of paint used. Standard wall paint is not designed for the constant handling that cabinets endure. It lacks the hardness and chemical resistance required in a kitchen or bathroom environment.
Enamel paints formulated for trim and cabinetry cure into a tougher film. They resist scuffing, hold up better against cleaning products, and maintain their sheen despite repeated contact. Modern waterborne alkyd enamels combine durability with lower odor and easier cleanup, making them popular for residential projects. These coatings level well, reducing brush strokes and roller stipple.
Using the wrong paint can lead to several common complaints. Doors may feel tacky long after application. Surfaces may show fingerprints that do not wipe away easily. Edges can wear down to the substrate within a short period. In humid conditions, softer paints may block, meaning doors stick together when closed.
Application technique also influences performance. Cabinet doors are typically removed and sprayed in a controlled setting to achieve a smooth finish. Brushing without proper tools or thinning can leave a heavy texture. Excessive film build from repeated coats can cause cracking. Temperature and humidity during curing play a role as well, affecting how the enamel hardens.
Color choice interacts with sheen level and product selection. Darker shades highlight imperfections. High gloss finishes magnify surface flaws but provide excellent washability. Satin and semi-gloss are common for balancing durability and appearance. Choosing the correct enamel is a technical decision rather than a purely aesthetic one.
When sanding, priming, and product selection align, cabinet repainting becomes a long-term upgrade rather than a temporary refresh. Each layer works together to create a cohesive system designed for frequent use.
The Long-Term Value Of Professional Preparation
Many repainting failures can be traced to underestimated preparation and inappropriate materials. The visible portion of the job is only the final coat, yet the unseen steps determine how the finish performs months and years down the line. Cabinets experience more physical contact than most other interior surfaces, so shortcuts show up quickly.
Professional refinishing involves systematic surface preparation, careful product selection, and controlled application. Hardware is removed, doors are labeled, and work areas are protected to prevent dust contamination. Sanding is thorough but precise. Primers are chosen based on substrate and color transition. Enamels are applied in measured coats with proper drying intervals.
The result is a finish that resists chipping, maintains color integrity, and stands up to regular cleaning. Instead of addressing peeling sections or repainting prematurely, homeowners can enjoy a consistent appearance that supports the overall design of the space.
If you are considering updating your kitchen or bathroom cabinetry, approach the project with a clear understanding of what it requires. Surface preparation, priming, and the right enamel are not optional extras. They are the foundation of a durable finish. At Gutierrez Painting, we treat cabinet refinishing as a specialized craft, not a quick cosmetic fix.
Contact us
today to discuss your project ideas and let us transform your cabinets into a lasting feature of your home.